The landscape of video games is rapidly evolving, moving beyond mere entertainment into a realm of true digital ownership. Non-fungible tokens, or NFTs, are at the forefront of this revolution, transforming how players interact with their in-game assets. Understanding how to buy and sell in-game NFTs is no longer just a niche skill, but a fundamental aspect of participating in the burgeoning Web3 gaming ecosystem. This guide will walk you through setting up your digital wallet to executing your first transaction, empowering you to navigate this exciting new frontier.
Understanding In-Game NFTs and Their Value
Navigating NFT Marketplaces: How to Buy and Sell In-Game NFTs
With your Web3 wallet funded, buying and selling in-game NFTs happens on specialized marketplaces. Platforms like OpenSea, Immutable X, or Magic Eden connect buyers and sellers across various blockchain games. Each marketplace supports specific networks, so check compatibility. Understanding the broader context of blockchain in gaming enhances your trading strategy.
To buy, connect your wallet to the marketplace. Browse assets, filtering by game or rarity. Always verify the NFT’s authenticity and collection details to avoid scams. Choose “Buy Now” or “Make Offer.” Confirming the transaction transfers ownership to your wallet, incurring a gas fee. This process ensures secure, verifiable asset acquisition.
Selling your in-game NFTs is straightforward. Access your collection on the marketplace and select the asset to list. Set a fixed price or create an auction with a specific duration. When an offer is accepted, the NFT transfers to the buyer. You receive the cryptocurrency, minus marketplace fees and creator royalties. Mastering these steps ensures effective participation in the digital asset economy.
Getting Started: Setting Up Your Web3 Wallet and Funding
To effectively engage in how to buy and sell in-game NFTs, a robust Web3 wallet is your foundational tool. This digital gateway securely stores your cryptocurrencies and unique digital assets. MetaMask stands out as a popular, user-friendly option, compatible with major blockchains like Ethereum and Polygon. Setting up your wallet requires creating a strong password and, critically, backing up your seed phrase. This phrase is the master key; its loss means permanent access forfeiture to your valuable assets. Prioritizing this security step is non-negotiable for any serious participant.
Once your Web3 wallet is established, the next crucial step involves funding it with the necessary cryptocurrency. You will use these digital funds, such as Ether (ETH) for Ethereum or MATIC for Polygon, to acquire NFTs and cover essential transaction fees, often called gas fees. Reputable centralized exchanges like Coinbase or Binance are common sources for these cryptocurrencies. Always exercise extreme caution when transferring funds, meticulously double-checking the recipient wallet address. This vigilance is paramount to prevent irreversible financial loss and ensure smooth transactions.
Step-by-Step Guide to Buying In-Game NFTs
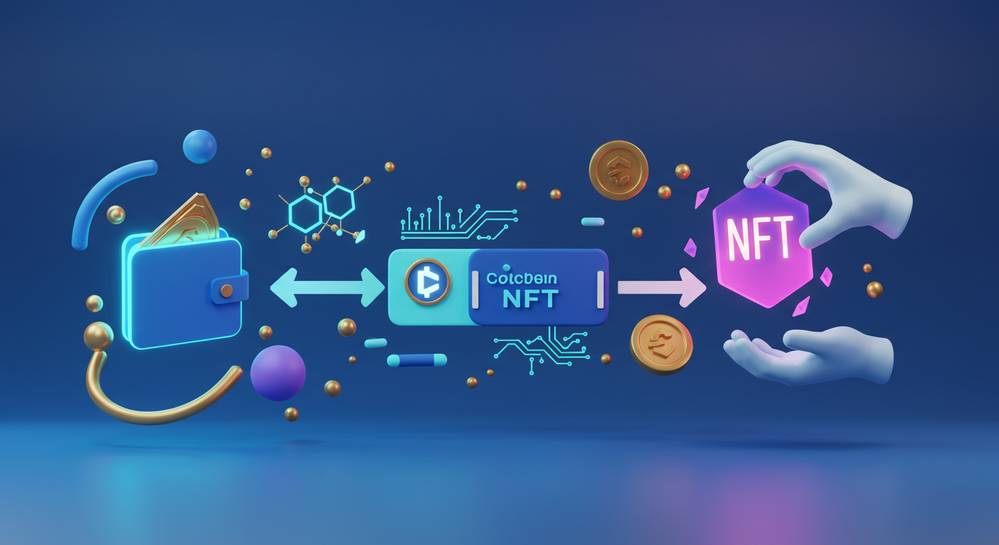
With your Web3 wallet prepared and funded, you are ready to acquire your first in-game NFTs. The primary venues for these transactions are specialized NFT marketplaces. While general platforms like OpenSea host a wide array of digital assets, many blockchain games also feature their own dedicated marketplaces. These game-specific platforms often provide more curated selections, directly tied to their ecosystems. Thoroughly researching a game’s official channels is crucial to identify the most reliable marketplaces for its assets. Understanding specific game mechanics can also enhance your purchasing decisions, much like reading detailed undefined informs traditional game purchases.
When browsing for in-game NFTs, meticulous attention to detail is paramount. Evaluate the NFT’s rarity, its in-game attributes, overall game compatibility, and historical sales data. Always prioritize verifying the collection’s authenticity to circumvent scams. Look for verified badges or direct links from official game websites. Once you identify a desirable NFT, connect your Web3 wallet to the marketplace. Carefully confirm all transaction details, then approve the purchase. Be acutely aware of fluctuating gas fees, which depend on network congestion, and always ensure your wallet holds sufficient funds to cover both the NFT price and these associated transaction costs.
Mastering the Sale: How to Sell Your In-Game NFTs
Selling your in-game NFTs offers a valuable opportunity to realize digital asset gains or simply manage your inventory. The process typically mirrors the buying experience, starting on the same established marketplaces. You will connect your Web3 wallet, then navigate to your personal profile or inventory section. From there, select the specific NFT you intend to sell. Marketplaces generally provide two primary selling mechanisms: a fixed-price listing for immediate sale or an auction format for competitive bidding.
When determining your selling price, several factors demand careful consideration. Assess the NFT’s rarity, its current market demand, and recent sales data for comparable items. Unique attributes or in-game utility can significantly influence value. Crucially, account for marketplace fees and potential gas fees, which directly impact your net profit. Once listed, your item becomes visible to potential buyers seeking to acquire in-game NFTs.
Upon an offer acceptance or a fixed-price purchase, the transaction proceeds on the blockchain. The agreed-upon cryptocurrency is then transferred directly to your connected Web3 wallet. Vigilance against scams, such as fraudulent offers or phishing attempts, remains paramount throughout this process. Always verify all transaction details within your Web3 wallet before providing final confirmation. This ensures a secure and successful sale of your digital assets.
Navigating the world of in-game NFTs offers unprecedented opportunities for digital ownership and engagement. By understanding the fundamentals of blockchain technology, setting up a secure Web3 wallet, and mastering the processes of buying and selling, you empower yourself to participate fully in this innovative ecosystem. The potential for collecting unique assets, trading for profit, or simply enhancing your gaming experience is immense. Embrace this digital revolution, stay informed about market trends, and secure your place in the future of gaming. For more insights and guides, explore Gaming Universe Mobile.
